
How to edit a Zoom recording into a video podcast in 2025

TLDR: It's absolutely possible to turn a Zoom recording into a good looking video podcast. This guide breaks down the steps (takes ~2 hours per episode), though I also built a free tool called Katana which does most of this automatically.
Zoom for video podcasts?
If you talk to any video editor, or podcasting industry expert, they'll adamantly tell you that Zoom was not designed for video podcasts. And that's true, it wasn't, yet I've been editing video podcasts for dozens of friends and clients on Upwork, and the majority of people who recorded a remote video podcast sent me a Zoom recording.
After asking a few people, here are some of the reasons why people use Zoom:
- • Everyone already knows about Zoom
- • Interview guests are already using Zoom
- • It is easy to use
- • It just works
I think the last point is the most important one. I previously worked at Streamyard, a tool used by many podcasters to record video podcasts, and I can't emphasize enough how much effort went into making it stable. I know other recording tools have had stability issues where calls would drop or recordings would be lost[1][2], and so even if Zoom feels like old and clunky, many people keep going back to it because it always just works.
I'm not the kind of guy who's going to sit and lecture people on how they should do things, so rather than tell people to change their workflow, I learned how to turn Zoom recordings into video podcasts, hence both this guide and the tool I built to automate what I've been doing manually for clients.
Some examples of Zoom video podcasts
After taking inspiration from professional video podcasts, here are some examples of video podcast episodes that started as Zoom recordings that I edited.
These podcasts aren't Diary-of-a-CEO quality, but they are comparable to what a normal, part-time podcaster would record on a tool like Streamyard (like the example below).
How to turn a Zoom recording into a video podcast
Let's cut to the chase. Here's the short bullet list of items you'll need to do to turn a Zoom recording into a video podcast:
- • Clean up the audio
- • Upscaling the video
- • Add camera angle switching
- • Change the background
- • Remove filler words
- • Remove long pauses
- • Add an intro and outro
- • Add name tags and call to actions
- • Generate clips
I'll show you both the quick and easy, and the manual way to do this.
Quick and easy way
Katana is the easiest way to edit a Zoom recording into a video podcast, because it natively extracts separate video tracks for each speaker from a Zoom recording, something that is critical for editing a video podcast, but that other editing tools like Descript, Davinci Resolve, and Adobe Premiere don't support.
It's free. Just go to https://katana.video and upload your Zoom recording. I've shared a video tutorial below:
It will automate many of the editing steps I mentioned. It's also free, and the only tool I'm aware of that will add camera-angle switching to a Zoom
So obviously this is my tool and this post is a way to showcase it. I mention my tool first because it is actually just the fastest way to do this, and if I started with the manual way (below) I likely would have lost your attention before getting to the easy way.
I'm openly admitting that the tool isn't perfect, but I'm specifically building the tool to automate the steps I've been doing manually for years. Here's what it does now:
- ❌ Clean up the audio (I'd like to add this, maybe in 2025?)
- ✅ Upscale the video
- ✅ Add camera angle switching
- ✅ Change the background (needs more default backgrounds)
- ✅ Remove filler words
- ✅ Remove long pauses
- ✅ Add an intro and outro
- ✅ Add name tags and call to actions
- ✅ Generate clips (ready in March/April?)
- ✅ Auto-generate an intro (working on it)
I obviously wouldn't be doing content marketing if there wasn't a plan for monetizing this tool in the future. Your instinct is to be suspicious and assume I'll just put everyting behind a paywall in the future. No. Everything but the clips and auto-generated intro are free.
I hope you can appreciate that, unlike content marketing from "corporates", I'm a solo-guy being real with you. Not everything is perfect, but I am working on it.
Manual way
Extracting recordings for each speaker
The reason people complain about Zoom for podcasting is for high quality local recordings, where you have a single video for each speaker whereas Zoom only supports a single video file with mixed audio, which makes it much harder to edit.
That would normally be true, but as of July 2025, you can actually extract seperate video files for each speaker from a Zoom recording.

You can go to free.cropzoom.video and upload your Zoom recording. The tool will use AI to extract seperate video files for each speaker, and then you can download them individually
It is absolutely free, you don't need to sign up for anything. It is built with the same technology used in Katana, but just extacted into a free, seperate utility tool for editors and podcasters who for whatever reason need to edit a Zoom recording.
Pre processing
By itself, the audio and video quality aren't great. You'll need to improve both for it to look good. It's optional, but I recommend doing this and fortunately it's not a lot of work
Audio
In a remote recording setup, the audio quality usually isn't great, but it's not Zoom's fault, the audio quality usually comes down to the microphone quality of the person recording, and the distance between the microphone and the speaker.
While you yourself might be able to buy an expensive microphone, your guests may not have good microphones.
If you're just starting out, a much easier and free option is to use Adobe Podcast Enhance. In the same way that buying a $1000 DLSR camera doesn't mean you'll take good photos, Webcam audio + AI Enhancement is usually better than a good microphone used incorrectly.
Unlike most Adobe software, their podcast enhance AI tool is really simple and it's good, and they have a free trial. All you have to do is go to Adobe Podcast Enhance and upload your video file. It will take a few minutes to process, but you can then just download the video, which will now have better sounding audio
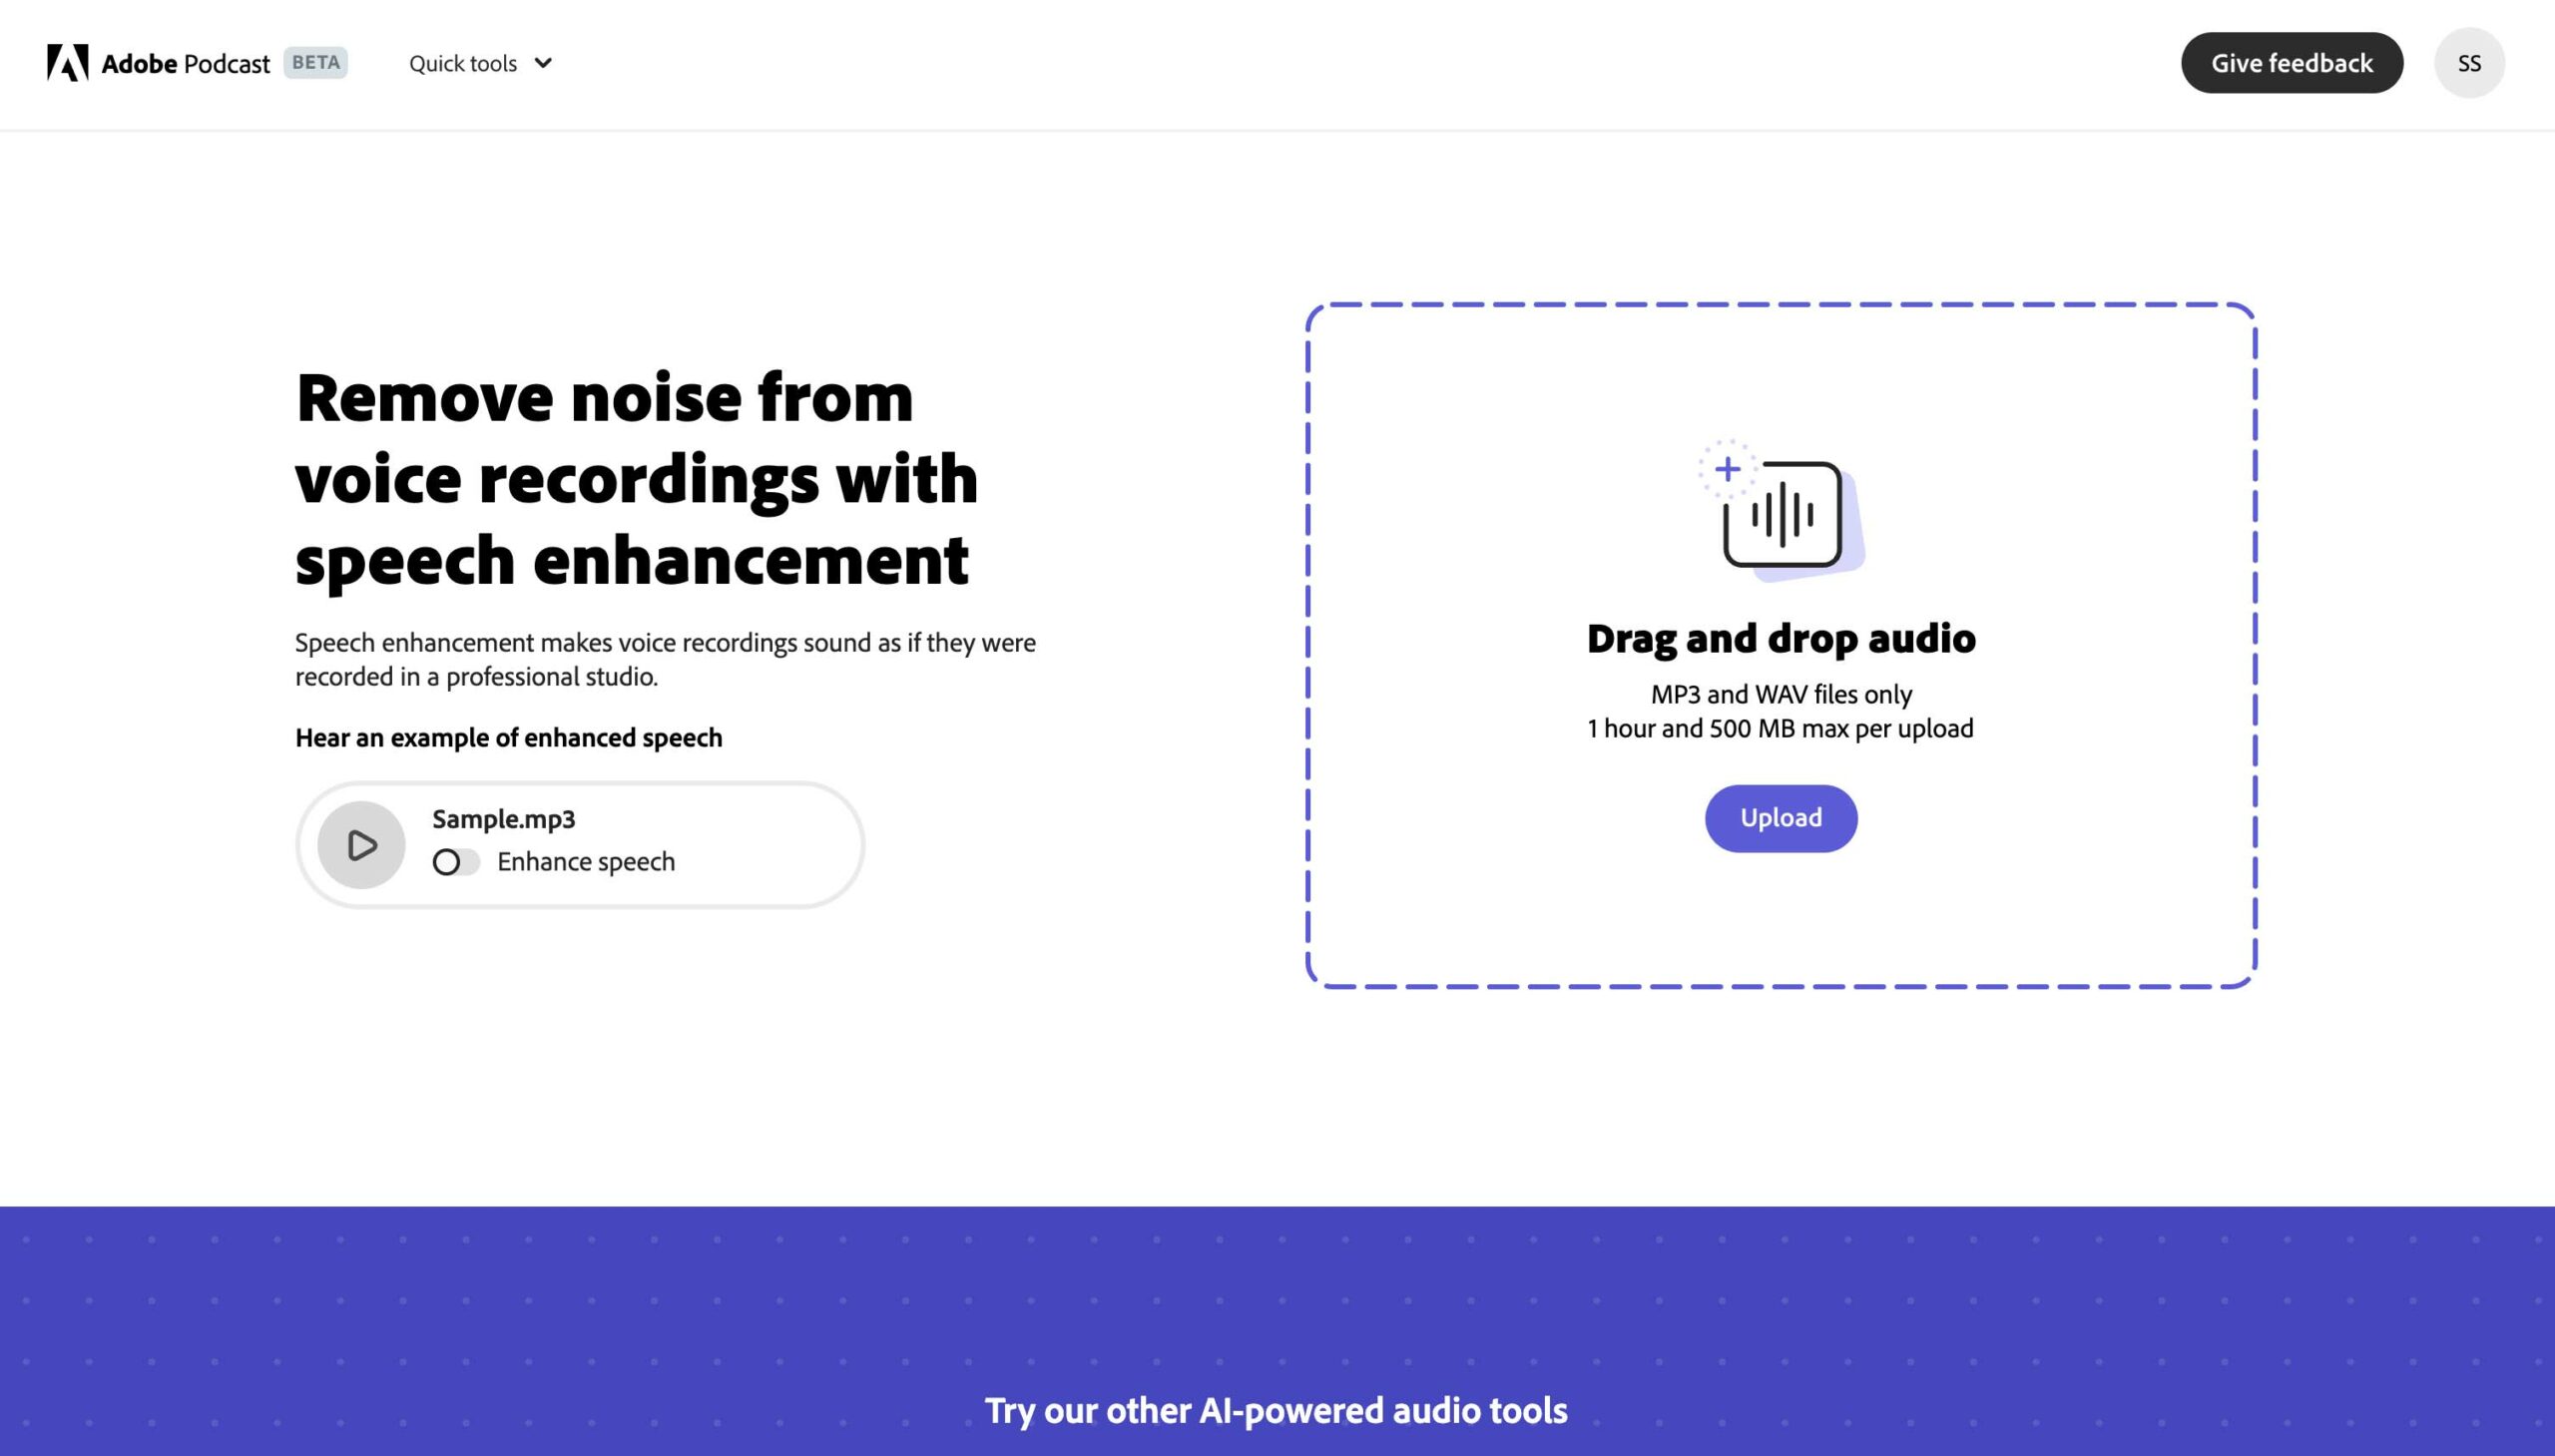
Here's a sample of the before and after
Original
Enhanced
Video
Probably the biggest disadvantage of Zoom is the poor video quality, though with good AI Upscaling it becomes hard to tell the difference from an HD local recording.
Like with audio, your guest may not have a good webcam, so a benefit of using AI Upscaling is that you'll actually get better quality video than using a specialized recording tool with a bad webcam.
For this, I used Free Video Upscaler. It's absolutely free, it is free and open source and much faster and easier to use (nothing to install and nothing to sign up for) than other AI Upscaling tools. Here is a before and after
The same AI Upscaling models are built directly into Katana, so if you use Katana you don't have to do anything, your Zoom recordings just get upscaled by default
Adding camera angle switching
This is the single most difficult step in the process to do manually. You'll need to use a video editing tool like Descript to do this. Descript is a popular tool, and has a lot of features, but it isn't very user friendly and has a steep learning curve. For the rest of this manual tutorial, I'll show you how to do this in Descript, so the first step would be to sign up for Descript.
Descript has a feature called Auto-multicam which is supposed to do this automatic camera angle switching, but you need seperate video files, each with their own audio track . This is why you need to use the free zoom crop tool, which will give you a video file for each speaker, so you can then use Descript's auto-multicam feature. You won't be able to use Descript's auto-multicam feature with the original Zoom recording.
Removing filler words and Long pauses
This is one area where Descript does a good job, where there's a core built in function to remove filler words and long pauses.
The one caveat that I'd put is that there are enough mistakes (~10% of the time in my experience) that you shouldn't auto "remove all" for long gaps or filler words - as it will cut-off legitimate words and it will be obvious to the listener, so you'll want to manually review each potential gap and filler word, and trust me, if you do, you'll see the mistakes
Auto-finding potential gaps and filler words is still way better than nothing, so overall you're looking at a 20-30 minute process to do this for a 1 hour podcast.
Adding name tags and call to actions
If Descript was relatively good at removing filler words and long pauses, it's definitely more annoying to add visuals like name tags and call to actions. While Descript lets you create visual elements, I assure you, it's too complicated and you're better off creating full visual assets in another program like Canva
Here are some sample name tags that I created in Canva
 Zero to Community name tag
Once you have a single image with all the visuals you want to show, you can add the visuals into the scene and add fade in and out transitions, as in the tutorial below
The reason to save them as an image in Canva and then import in Descript, is that creating the images in Descript means you need to add different transitions for each text box, circle, etc, and it's incredibly annoying.
For call to actions, I've either similarly designed png layouts in Canva, or used MotionArray to download stock motion graphics like this one.
Adding intros and outros
A lot of people who look at professional video podcasts see super highly produced intro videos, and of course you can hire a professional to create one for you, but another much simpler approach is to use an interesting clip from the episode, followed by a static image with some background music, as in the following examples:
If you've already added in nametags or layouts, then the intro slide is just another image you can create, and add into the scene with a fade transition.
You can find stock music here: Epidemic Sound
Generating social media clips
If you've done everything above, you have a full length video podcast. You can upload to YouTube or Spotify. If you're just moving to video podcasting though, you may be new to generating social media clips (which is usally the last step in the process), and if you are new to this, I'd quickly learn about how and why you should be reposting your podcast on social media
There's a ton of tools out there to help you generate social media clips, but Katana does too
You're done!
You've now created a video podcast! You can upload to YouTube or Spotify, and then repost on social media. Hopefully I've convinced you that it's totally possible to turn a Zoom recording into a decent video podcast, even if it is a bit of work to do manually.
That said, I built Katana to automate all of this, so that you can turn a Zoom recording into a good looking video podcast in 1 minute. It's free so why not give it a shot?
👉Katana👈
Any of the steps I mentioned that it doesn't already automate, it will automate in the next few months.
Otherwise, if you have any thoughts or feedback, feel free to reach out to me on LinkedIn or Twitter or sam@katana.video